How to get started with Sentry's Unity SDK - Part 1
How to get started with Sentry's Unity SDK - Part 1User experience and performance are two of the most important metrics of any game. You need to ensure that it runs as optimally as possible on any platform. Ideally, you don’t want to wait for players to angrily tell you something is not working or worse, broken. In a perfect world you’d get notified about any issues that arise in your game with as much context surrounding the issue as possible.
This is where Sentry comes into play. They help developers monitor their applications in order to gain insights into critical errors and performance issues. In addition, Sentry provides crucial context information that gives you complete traceability of the errors in your game so that you can fix them faster to ensure your players remain satisfied. They makes things incredibly easy for game developers wanting to monitor their games by providing an SDK that integrates with Unity.
In this series, we’ll look at how to setup Sentry’s Unity SDK so we can monitor errors and performance issues in our games.
Getting Started
Pre-requisites
To begin, ensure that you have installed the following:
Unity Package Manager - If you have installed Unity Hub, you should get the Unity Package Manager installed as well.
Creating a Sentry Account
You can skip this step if you already have a Sentry account. If not, navigate to Sentry and create a free account to get started.
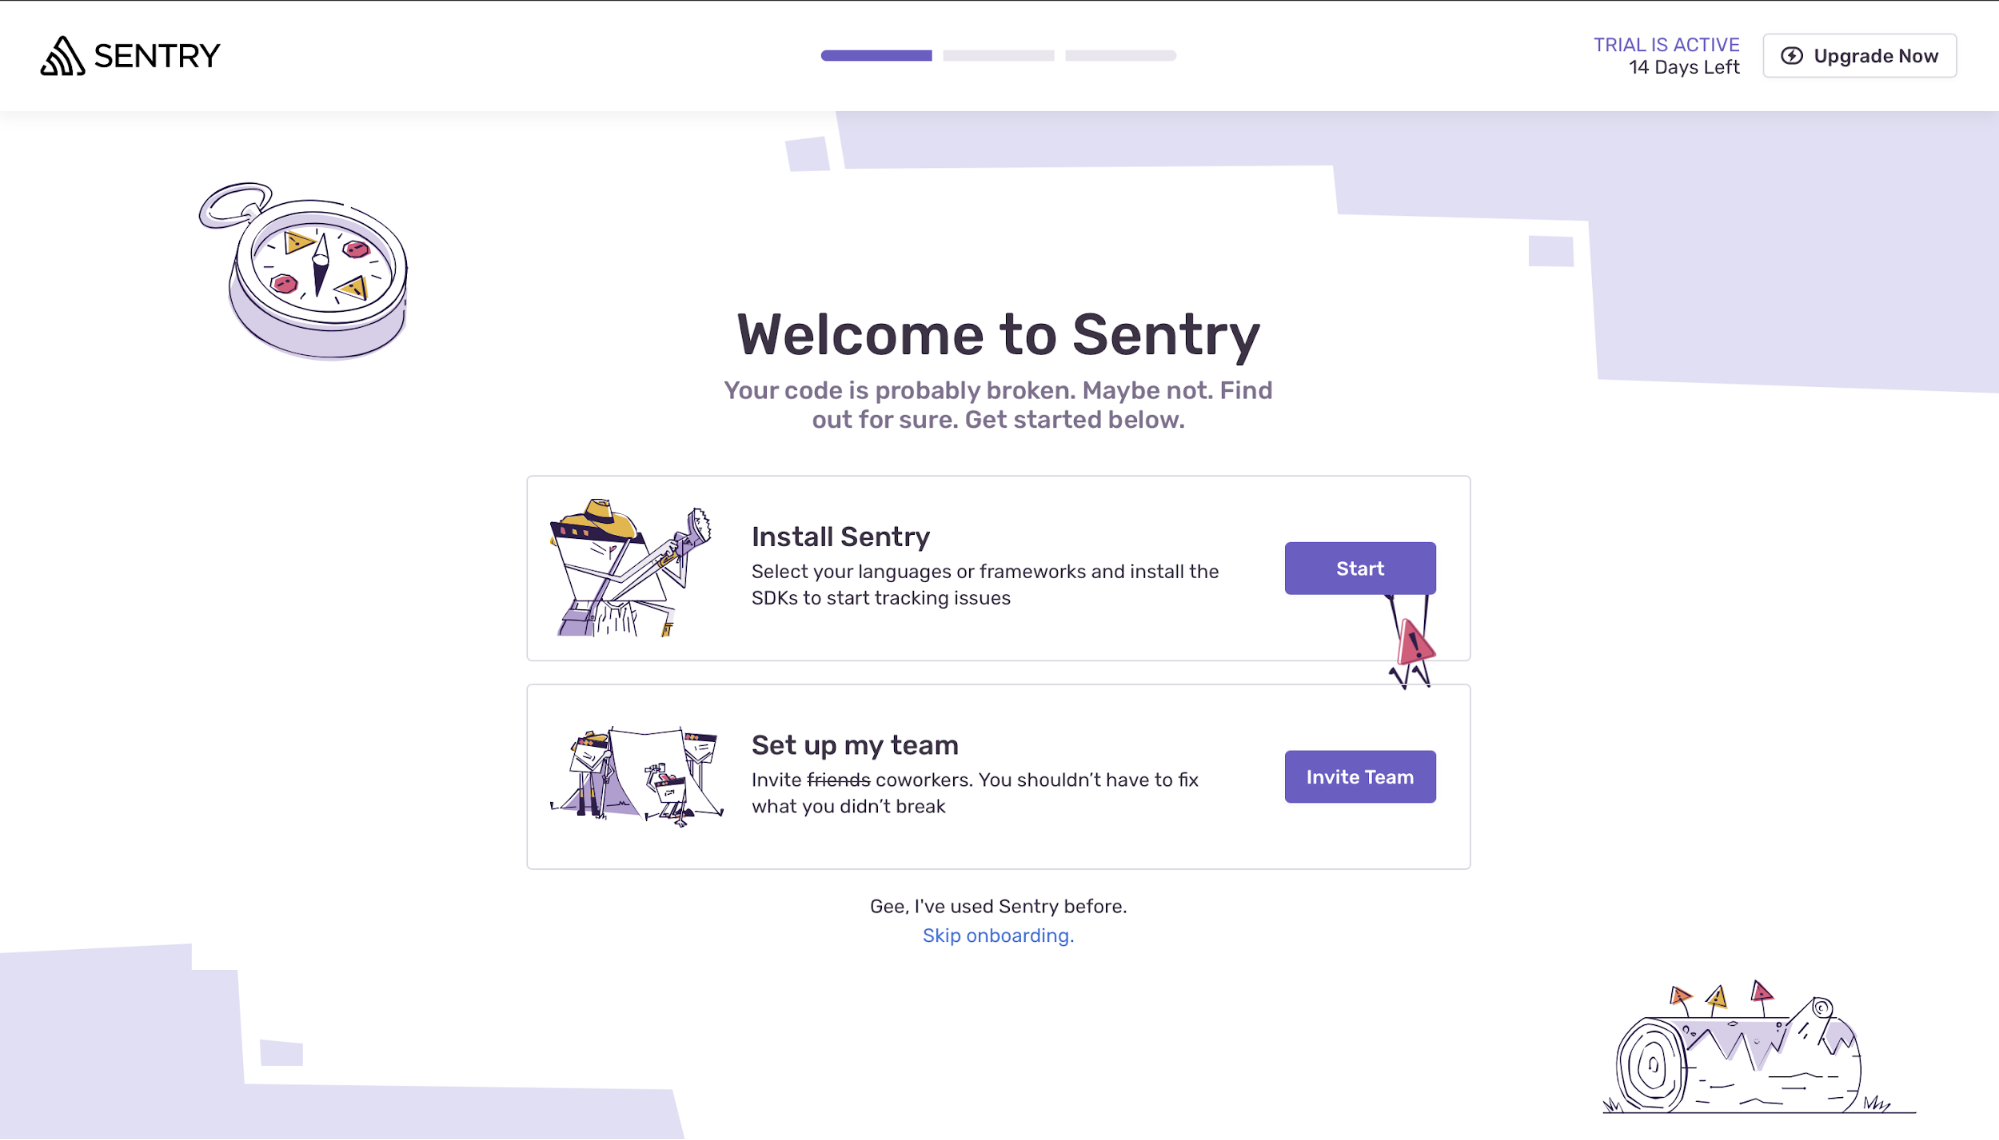
After creating the account, you will see a screen like this:
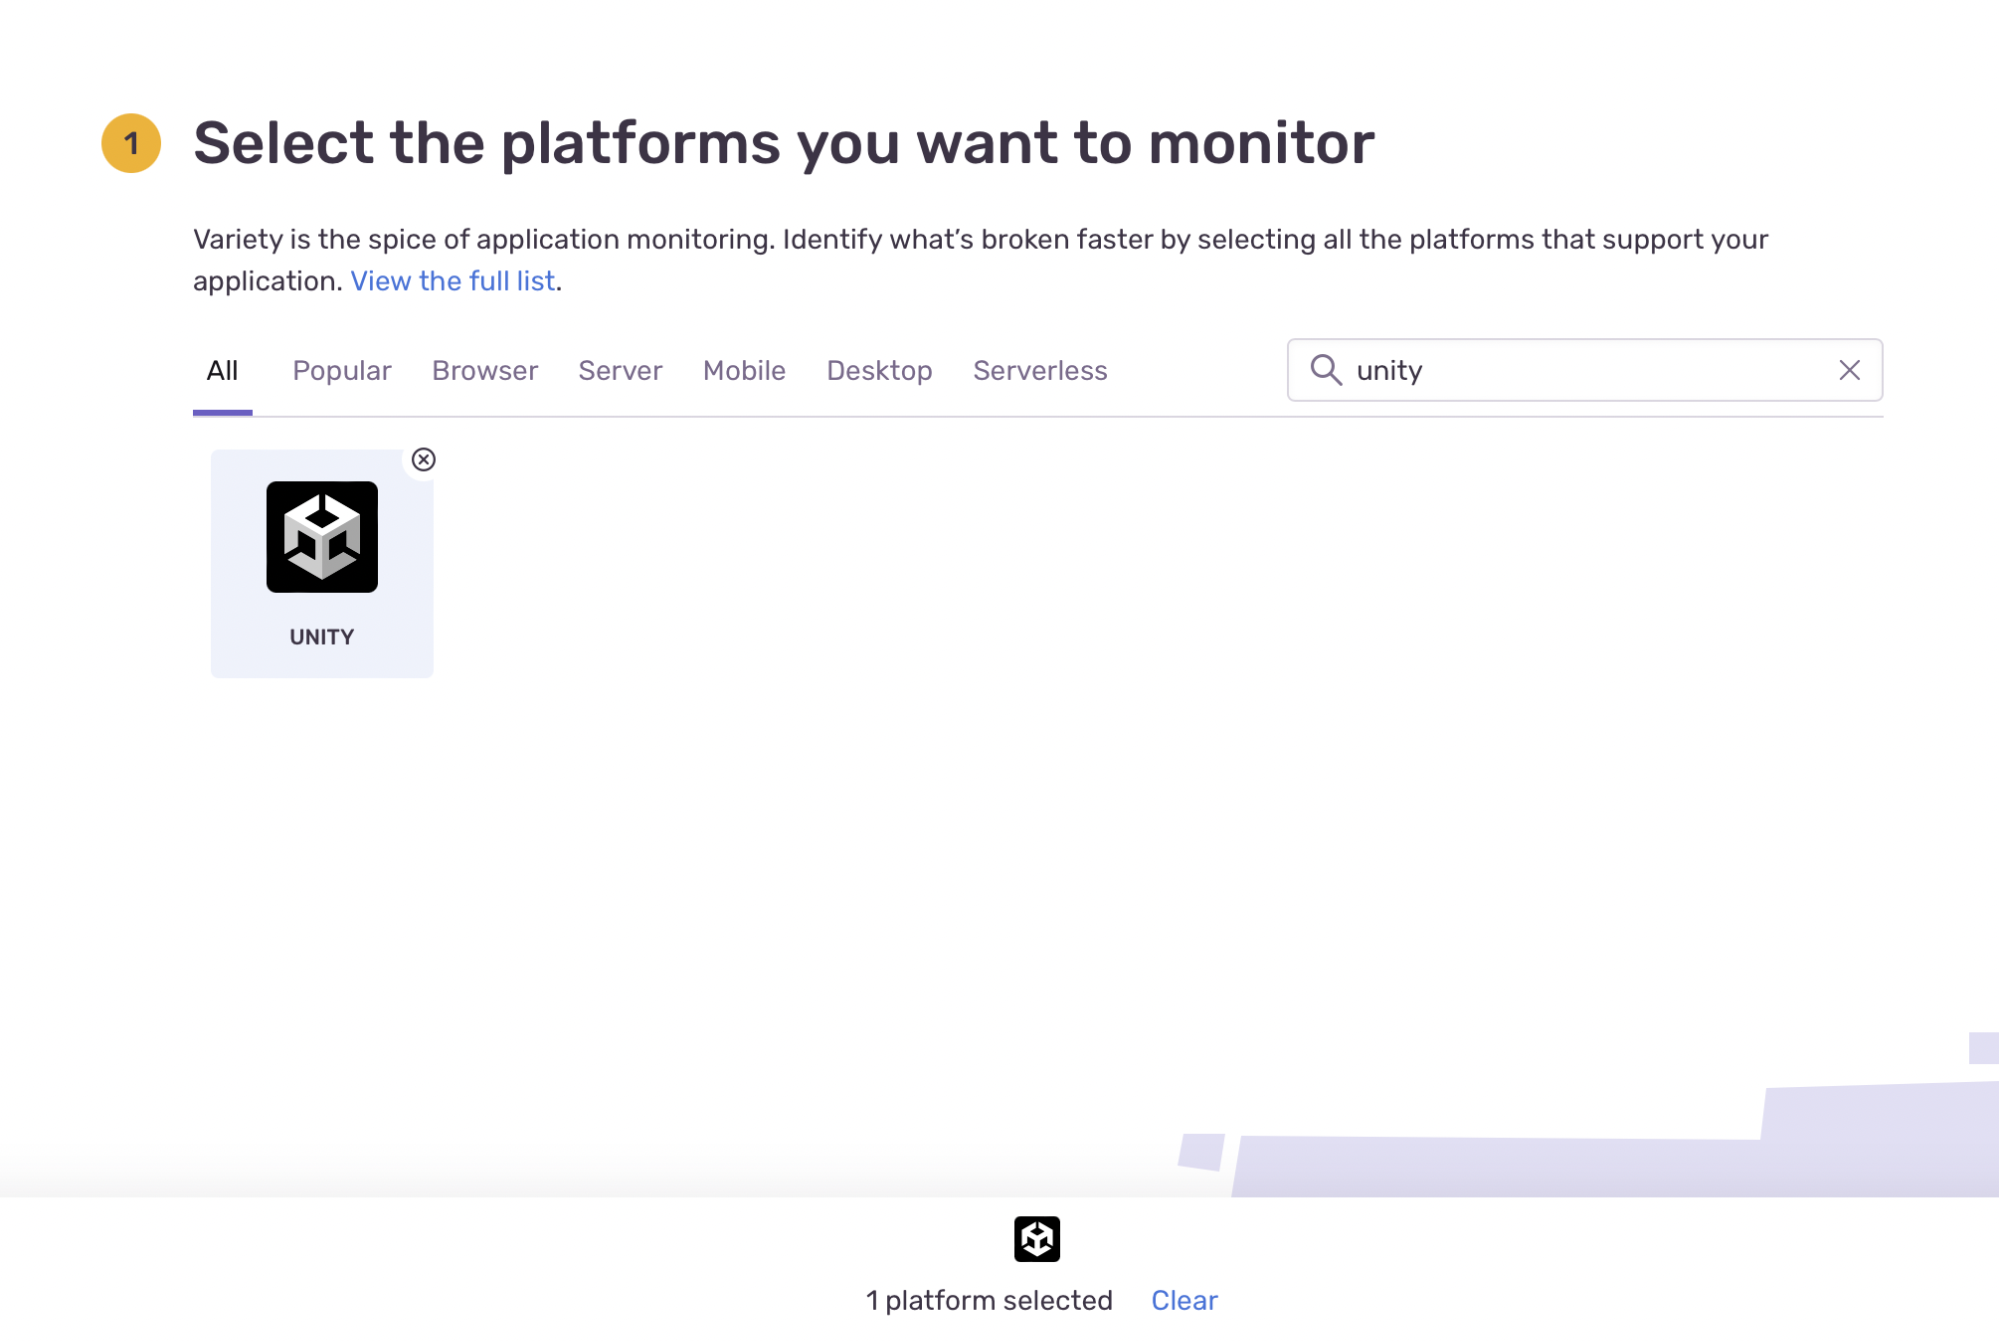
Click Install Sentry to proceed, and you will be redirected to a new UI. There, select Unity as the platform you want to monitor.
Finally, click Create Project to create the Sentry project.
Configuring the Sentry SDK
The Sentry SDK can be installed and configured directly within the Unity Editor.
Installing the Sentry SDK
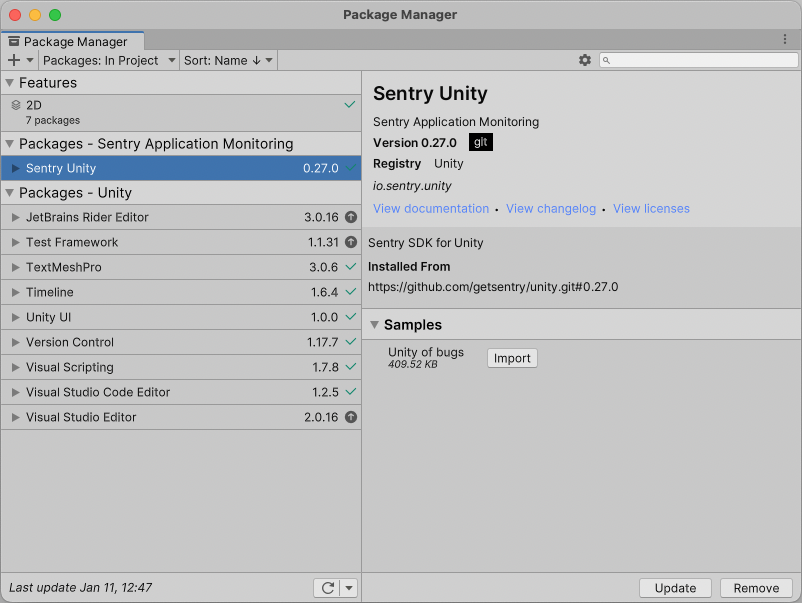
I recommend installing the SDK via the Unity Package Manager. Clicking the plus-icon gives you the option to provide a GitHub repository URL for the Package Manager to pull the package from.
https://github.com/getsentry/unity.git#0.27.0
You should see the output shown below once the installation is completed:
There are samples included with demo scenes to trigger some bugs and even crash the game that can optionally be imported.
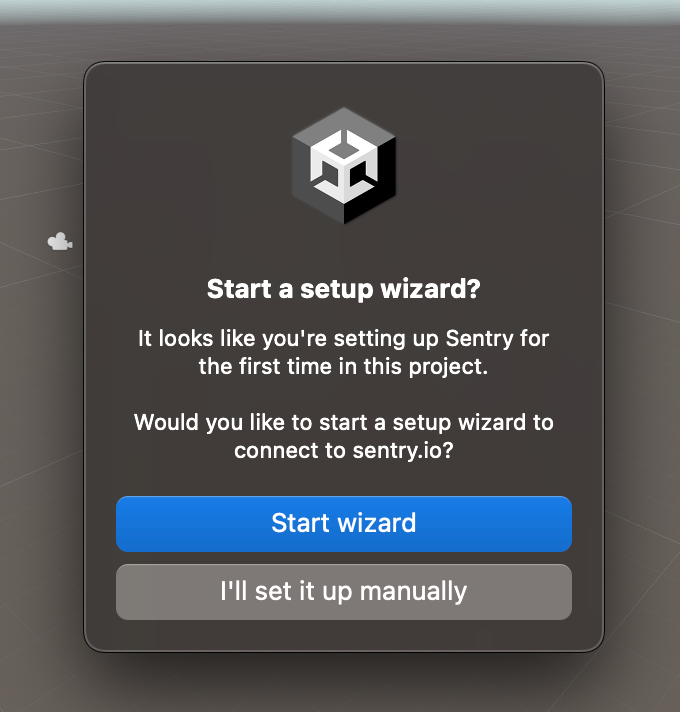
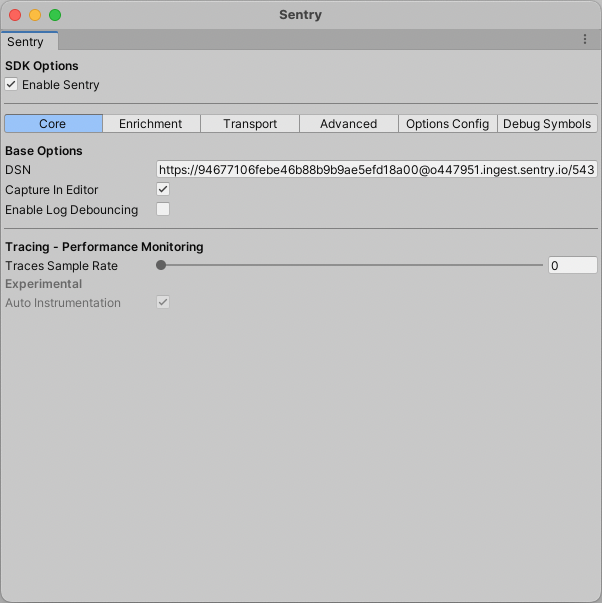
For the SDK to know where to send events and which project to associate them with, you must add the DSN (Data Source Name) of your Sentry project. This can be done by navigating to Tools -> Sentry. Once you click Sentry, you should see a setup prompt, as shown below.
Click Start Wizard to begin the initialization wizard. Sentry will automatically launch a browser tab to pull information from your existing project into the editor
If you only have one project then the wizard will finish the configuration; otherwise it will prompt you to pick one of your projects to be associated with your Unity game.
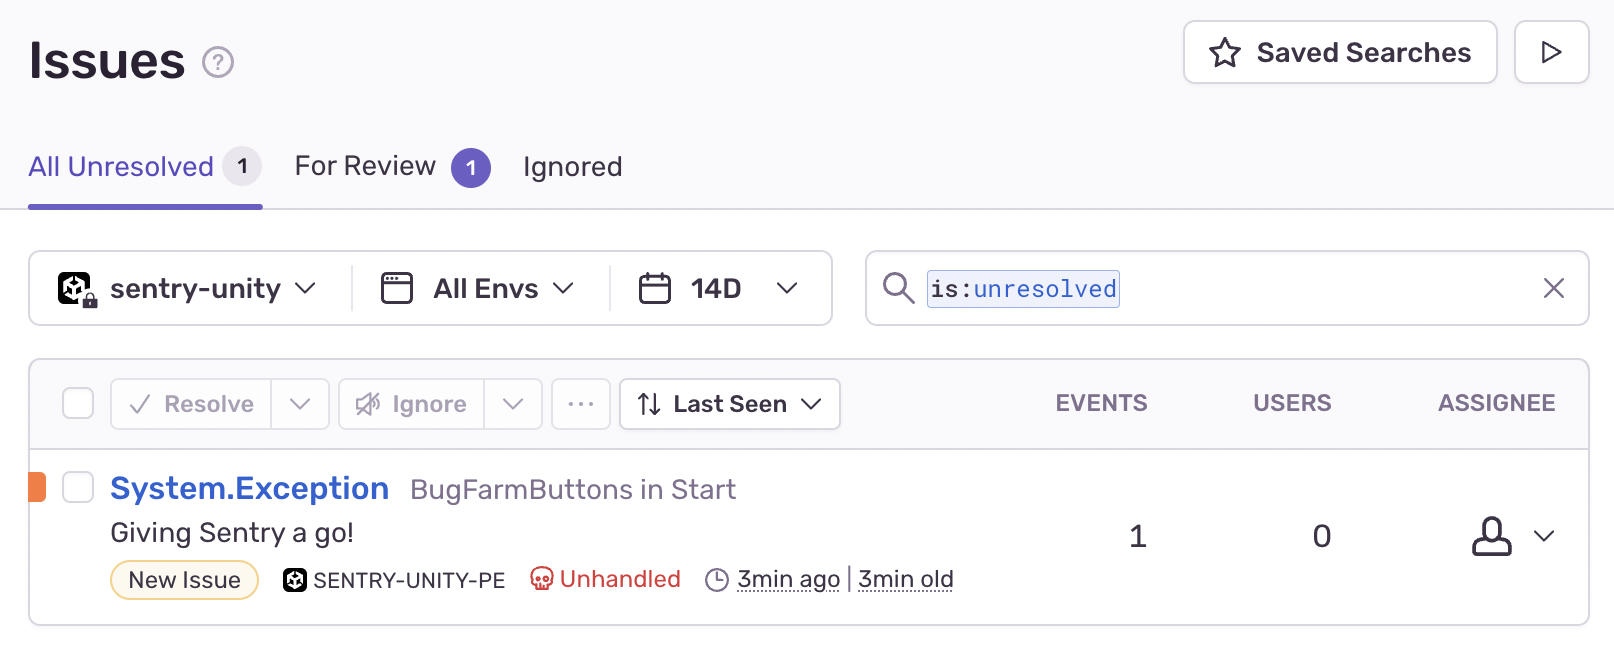
Finally, you can emit a test event to confirm that Sentry is working as expected by using the included samples or throwing your own exception with a snippet like this:
private void Start()
{
throw new Exception("Giving Sentry a go!");
}The figure above shows an error event for the exception triggered by the snippet. The SDK has automatically captured it, sent it to Sentry, and listed it as an issue.
What's New in the Latest Release
Capturing errors is only one of Sentry’s many features. The latest releases of Sentry added a lot more utility to help with error diagnostics and fixing for Unity.
Sentry now provides support for Unity across platforms such as macOS, Windows, and Linux (in addition to Android, iOS and WebGL), allowing developers to extend monitoring support for desktop applications. However, Sentry does not stop there. The new desktop support brought about a new set of features, such as:
Automated symbol upload for all supported platforms
Automated app not responding feature. Previously, there was no way of detecting screen freezes. Sentry now automatically creates events when the main thread freezes for a period longer than 5 seconds.
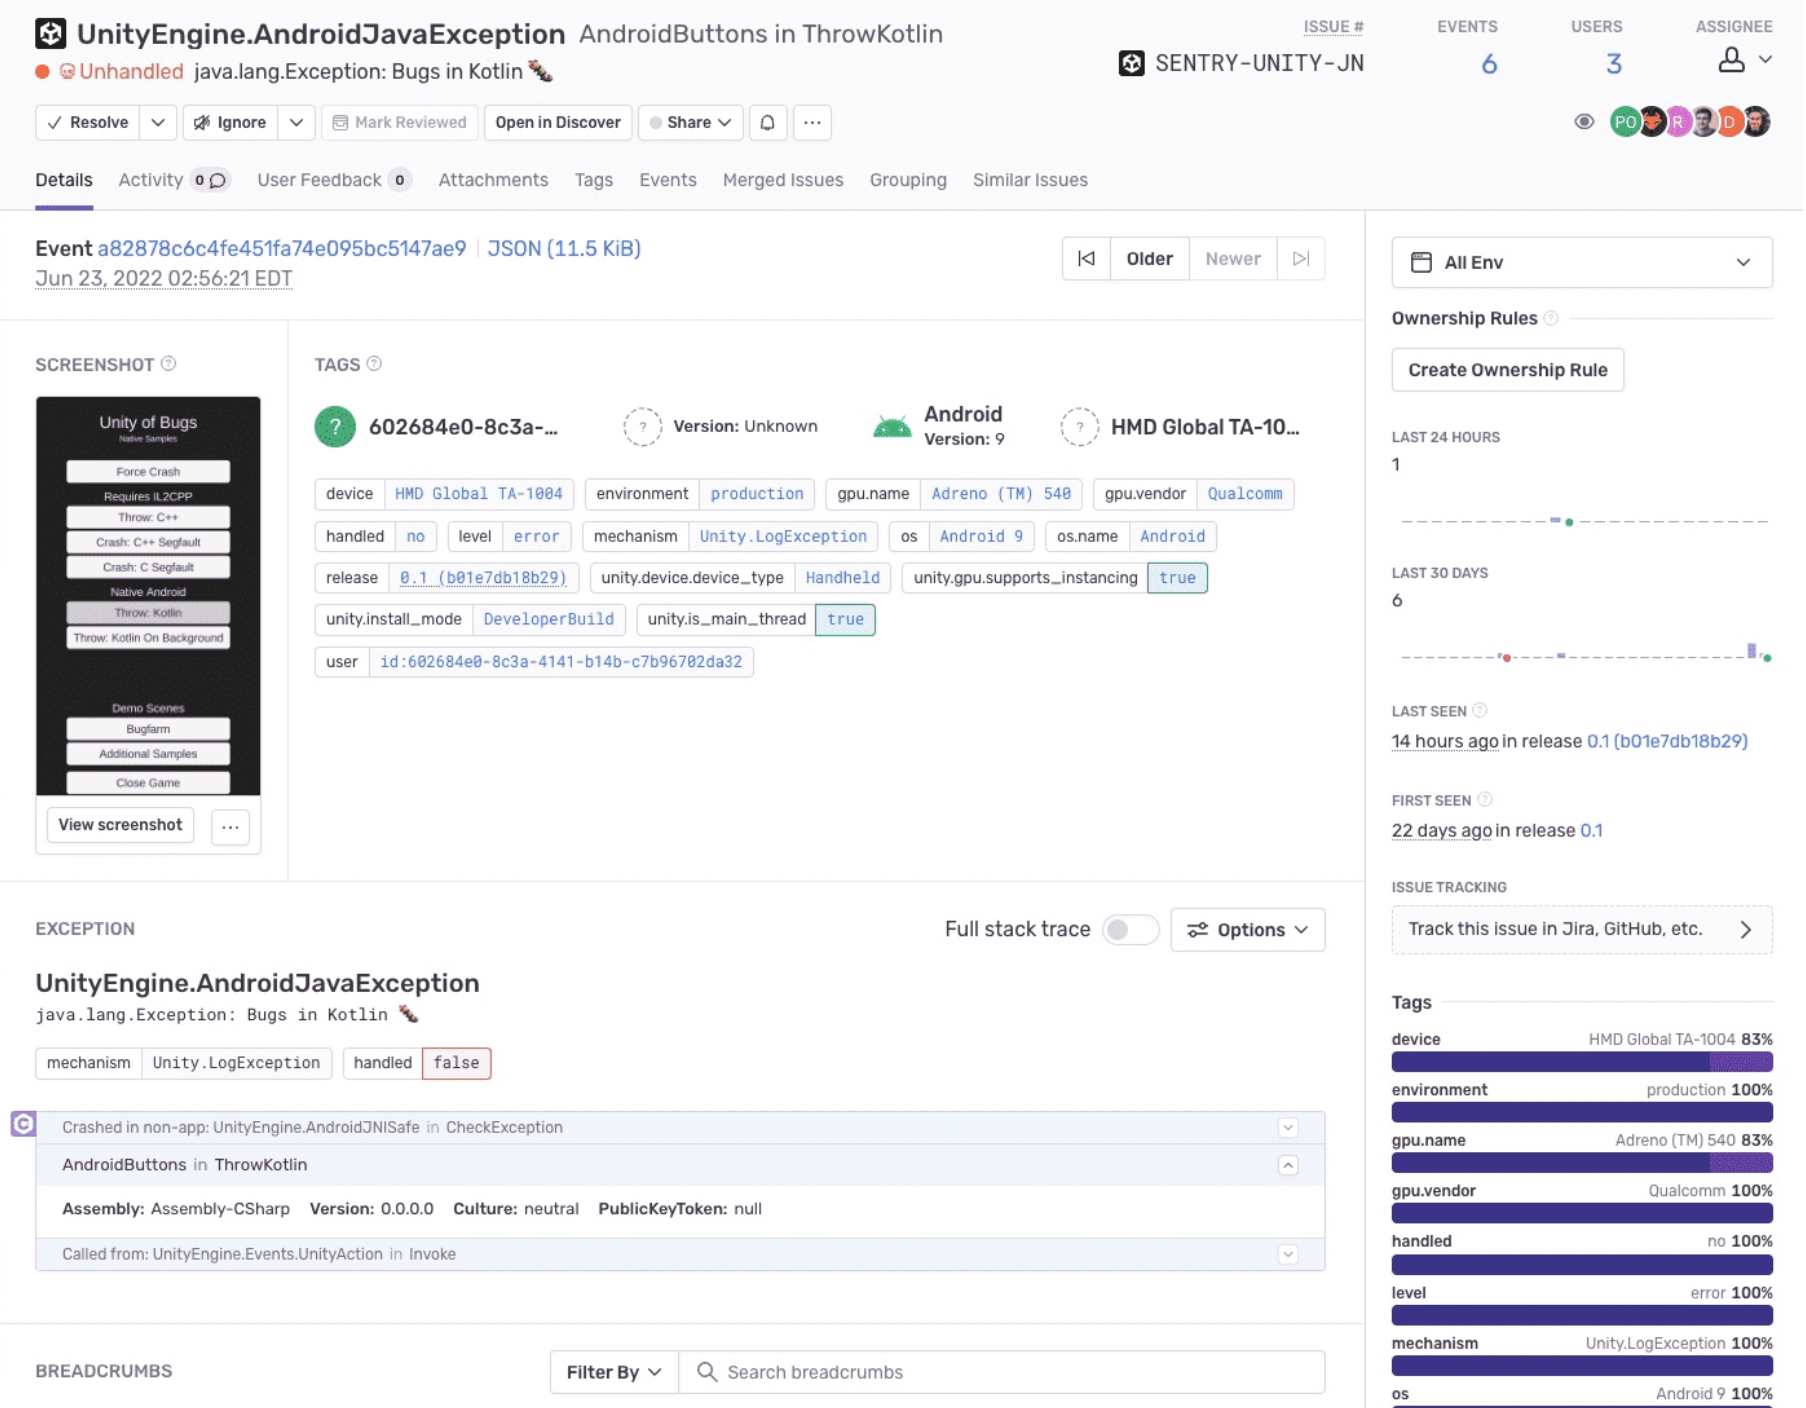
Capturing mobile and desktop screenshots. Sentry now allows to opt into capturing a screenshot at the time of the event. Ensure you have screenshot capturing enabled in your Sentry configurations. You can see this in the UI below:
Recap
It is important to keep your game as error-free as possible. It gives you the confidence that players are having a great user experience.
Sentry is a great tool for observability, monitoring, and error reporting for your next Unity game. By doing so, you can ensure that you are notified about issues as they arise and you can fix errors before the rest of your customer base even notices them.
Look out for part 2 of this article where we'll walkthrough fixing an actual bug.

