Implementing the User Feedback API in Android
Implementing the User Feedback API in Android


The User Feedback API adds more context to the errors in your app by giving your users the opportunity to directly explain what happened, or what should’ve happened. It represents an additional layer of clarification on top of the Error Reporting feature. With the combination of Issues, Screenshots, and the User Feedback, you’re getting the same amount of information about a specific crash as if the user was in front of you when it happened.
In this article we’ll go through the process of implementing the User Feedback API into our Android app.
The app
To make it simpler, we’ll use a simple app with just two screens: Main screen where the error happens, and the Report a Bug screen which contains a few form fields that lets the user provide a title, what happened, what should’ve happened, and optionally provide their name and email.

You can find the source code of this tutorial on this link.
The implementation
Let’s say we want to show a Snackbar when an error happens, with a “Report” action. When the user taps the “Report” action we’re redirecting them to the “Report a Bug” screen where they can fill up the form and submit their feedback.
Let’s look at the MainActivity implementation:
class MainActivity : ComponentActivity() {
override fun onCreate(savedInstanceState: Bundle?) {
super.onCreate(savedInstanceState)
setContent {
// create the navController and snackbarHostState
val navController = rememberNavController()
val snackbarHostState = remember { SnackbarHostState() }
SentryUserFeedbackTheme {
// add a NavHost as the root component and assign the navController
NavHost(navController = navController, startDestination = "main") {
// create a route for the main screen
composable("main") {
// wrap the main component with a Scaffold and assign the snackbarHost
// the Scaffold is required in order to display the Snackbar
Scaffold(
snackbarHost = { SnackbarHost(snackbarHostState) },
content = { innerPadding ->
Surface(
modifier = Modifier
.fillMaxSize()
.padding(innerPadding),
color = MaterialTheme.colors.background
) {
// render the main screen component
// and pass the snackbarHostState and navController
TriggerError(snackbarHostState, navController)
}
}
)
}
// create a route for the Report a Bug screen
// the User Feedback API requires the eventId of the last reported exception
// so we'll add the eventId as part of the route
composable("reportBug/{eventId}") { backStackEntry ->
// render the ReportBug component
// and pass the navController and the eventId from the args
ReportBug(
navController,
backStackEntry.arguments?.getString("eventId")
)
}
}
}
}
}
}To create the navigation in our app we add a NavHost as the root component and we register the main and reportBug routes. Since we’re going to show a Snackbar, we also need to create a snackbarHostState and assign it to the Scaffold. Within the routes we’re rendering the TriggerError component, which is the main screen component, and the ReportBug component. We’re passing down the navController and snackbarHostState as needed to the components. This is enough to define our navigation system with Snackbar support.
Let’s look at the TriggerError component:
// define the main screen component
@Composable
fun TriggerError(
  snackbarHostState: SnackbarHostState,
  navController: NavController
) {
  // to display the snackbar in a method we need to create a coroutine scope
  val coroutineScope = rememberCoroutineScope()
  val onClick: () -> Unit = {
    try {
      // faulty method
      throw Exception("CRASH")
    } catch (e: Exception) {
      // report the exception to Sentry and obtain the eventId
      val eventId = Sentry.captureException(e)
      coroutineScope.launch {
        // launch the snackbar
        val snackbarResult = snackbarHostState.showSnackbar(
          message = "Oh no \uD83D\uDE27",
          actionLabel = "Report this!"
        )
        when (snackbarResult) {
          SnackbarResult.Dismissed -> {}
          SnackbarResult.ActionPerformed -> {
            // navigate to the Report a Bug screen
            // use the exception's eventId as part of the route
            navController.navigate("reportBug/$eventId")
          }
        }
      }
    }
  }
  Column(
    horizontalAlignment = Alignment.CenterHorizontally,
    verticalArrangement = Arrangement.Center,
  ) {
    Button(onClick = onClick) {
      Text("Unleash chaos!")
    }
  }
}
Let’s imagine that tapping the button triggers an exception. Inside of our catch block we’re going to capture the original exception and send it to Sentry. That’ll give us the eventId of the event. Since the User Feedback API requires the eventId, we’ll keep the value in a variable and use it to construct the Report a Bug route. To show a Snackbar in a method, we need to create a coroutineScope and launch it. When the Snackbar’s action gets performed, we’re navigating the user to the Report a Bug screen.
Now let’s look at the ReportBug component:
@Composable
fun ReportBug(
  navController: NavController = rememberNavController(),
  eventId: String? = ""
) {
  // create local variables for context and form fields
  val context = LocalContext.current
  var titleState by remember { mutableStateOf("") }
  var whatHappenedState by remember { mutableStateOf("") }
  var whatShouldveHappenedState by remember { mutableStateOf("") }
  var nameState by remember { mutableStateOf("") }
  var emailState by remember { mutableStateOf("") }

  // if the eventId is null, pop back to the previous screen
  if (eventId == null) {
    navController.popBackStack()
    return
  }

  val sendFeedback: () -> Unit = {
    // create a new UserFeedback instance using the eventId and form data
    val userFeedback = UserFeedback(SentryId(eventId)).apply {
      name = nameState
      email = emailState
	    // concatenate some of the fields in the comments property
      comments = """Title: $titleState
==============================================
What Happened: $whatHappenedState
==============================================
What Should've Happened: $whatShouldveHappenedState"""
    }
    // send the feedback to Sentry
    Sentry.captureUserFeedback(userFeedback)

    // show a confirmational toast
    Toast.makeText(
      context,
      "Feedback sent. Thank you \uD83D\uDC96",
      Toast.LENGTH_LONG
    ).show()

    // pop back to the previous screen
    navController.popBackStack()
  }

  Scaffold(
    topBar = {
      // ...
      // define the top bar
      // ...
    },
    content = { innerPadding ->
      Column(
        modifier = Modifier
          .padding(innerPadding)
          .padding(top = 16.dp)
          .fillMaxWidth(),
        horizontalAlignment = Alignment.CenterHorizontally,
      ) {
        // ...
        // define the form fields
        // ...
        Button(
          onClick = sendFeedback,
          modifier = Modifier.padding(top = 16.dp)
        ) {
          Text("Send")
        }
      }
    }
  )
}
The sendFeedback method uses the eventId and the local form field state variables to create a new UserFeedback instance. Since the UserFeedback accepts just a comments property, we’re concatenating some of the values, like the title, what happened, and what should’ve happened form field values. Then, using the captureUserFeedback method we’re sending the user’s feedback to Sentry, which is going to be linked with the previous exception that we reported. We can run the app now, fill up the form and open our Sentry dashboard. In the User Feedback screen we will see our feedback showing up:
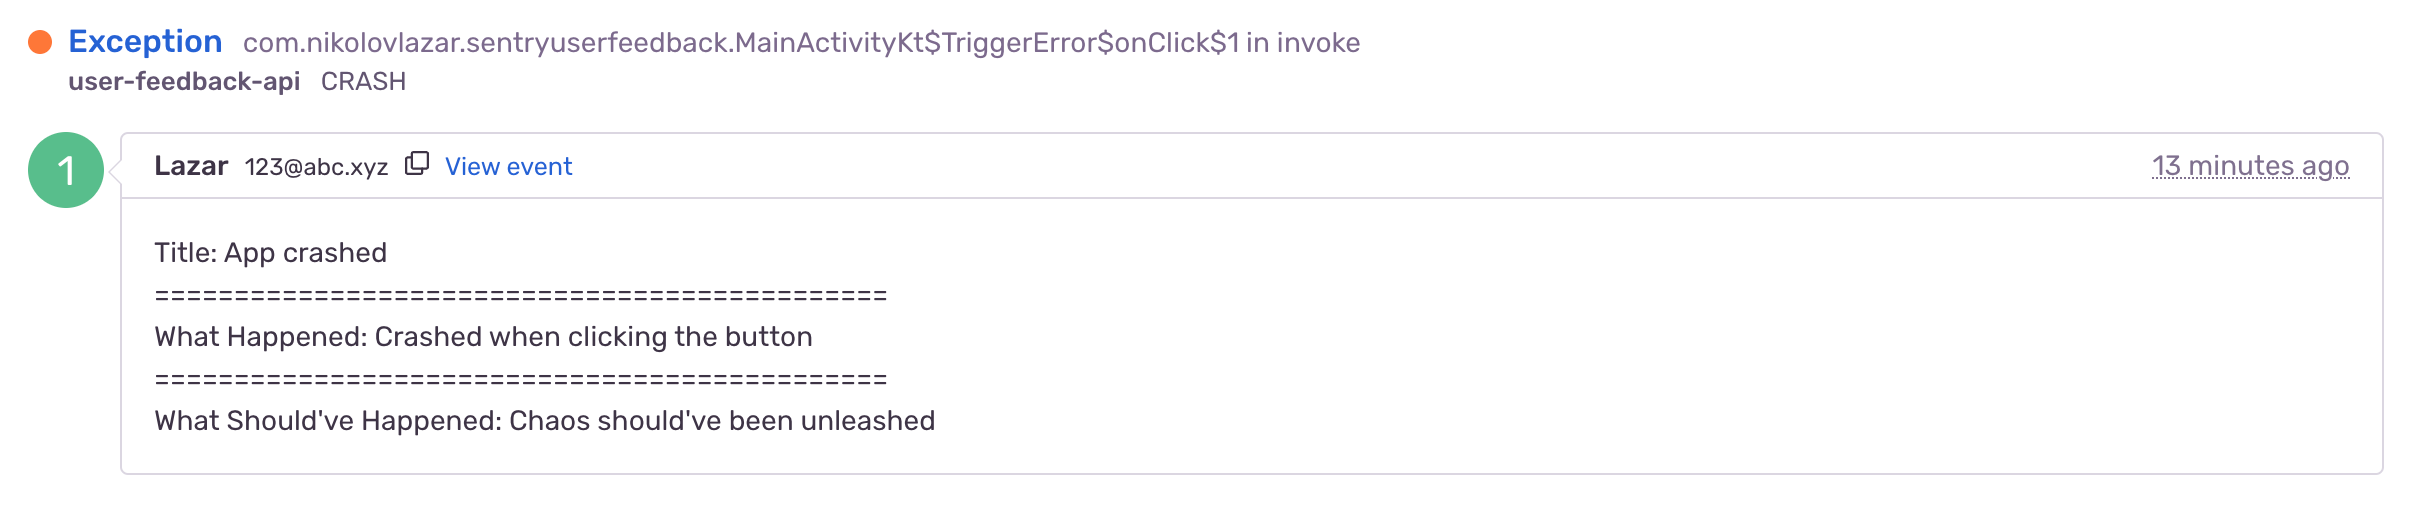
It’s also going to show up in the Issues screen if we open the exception:
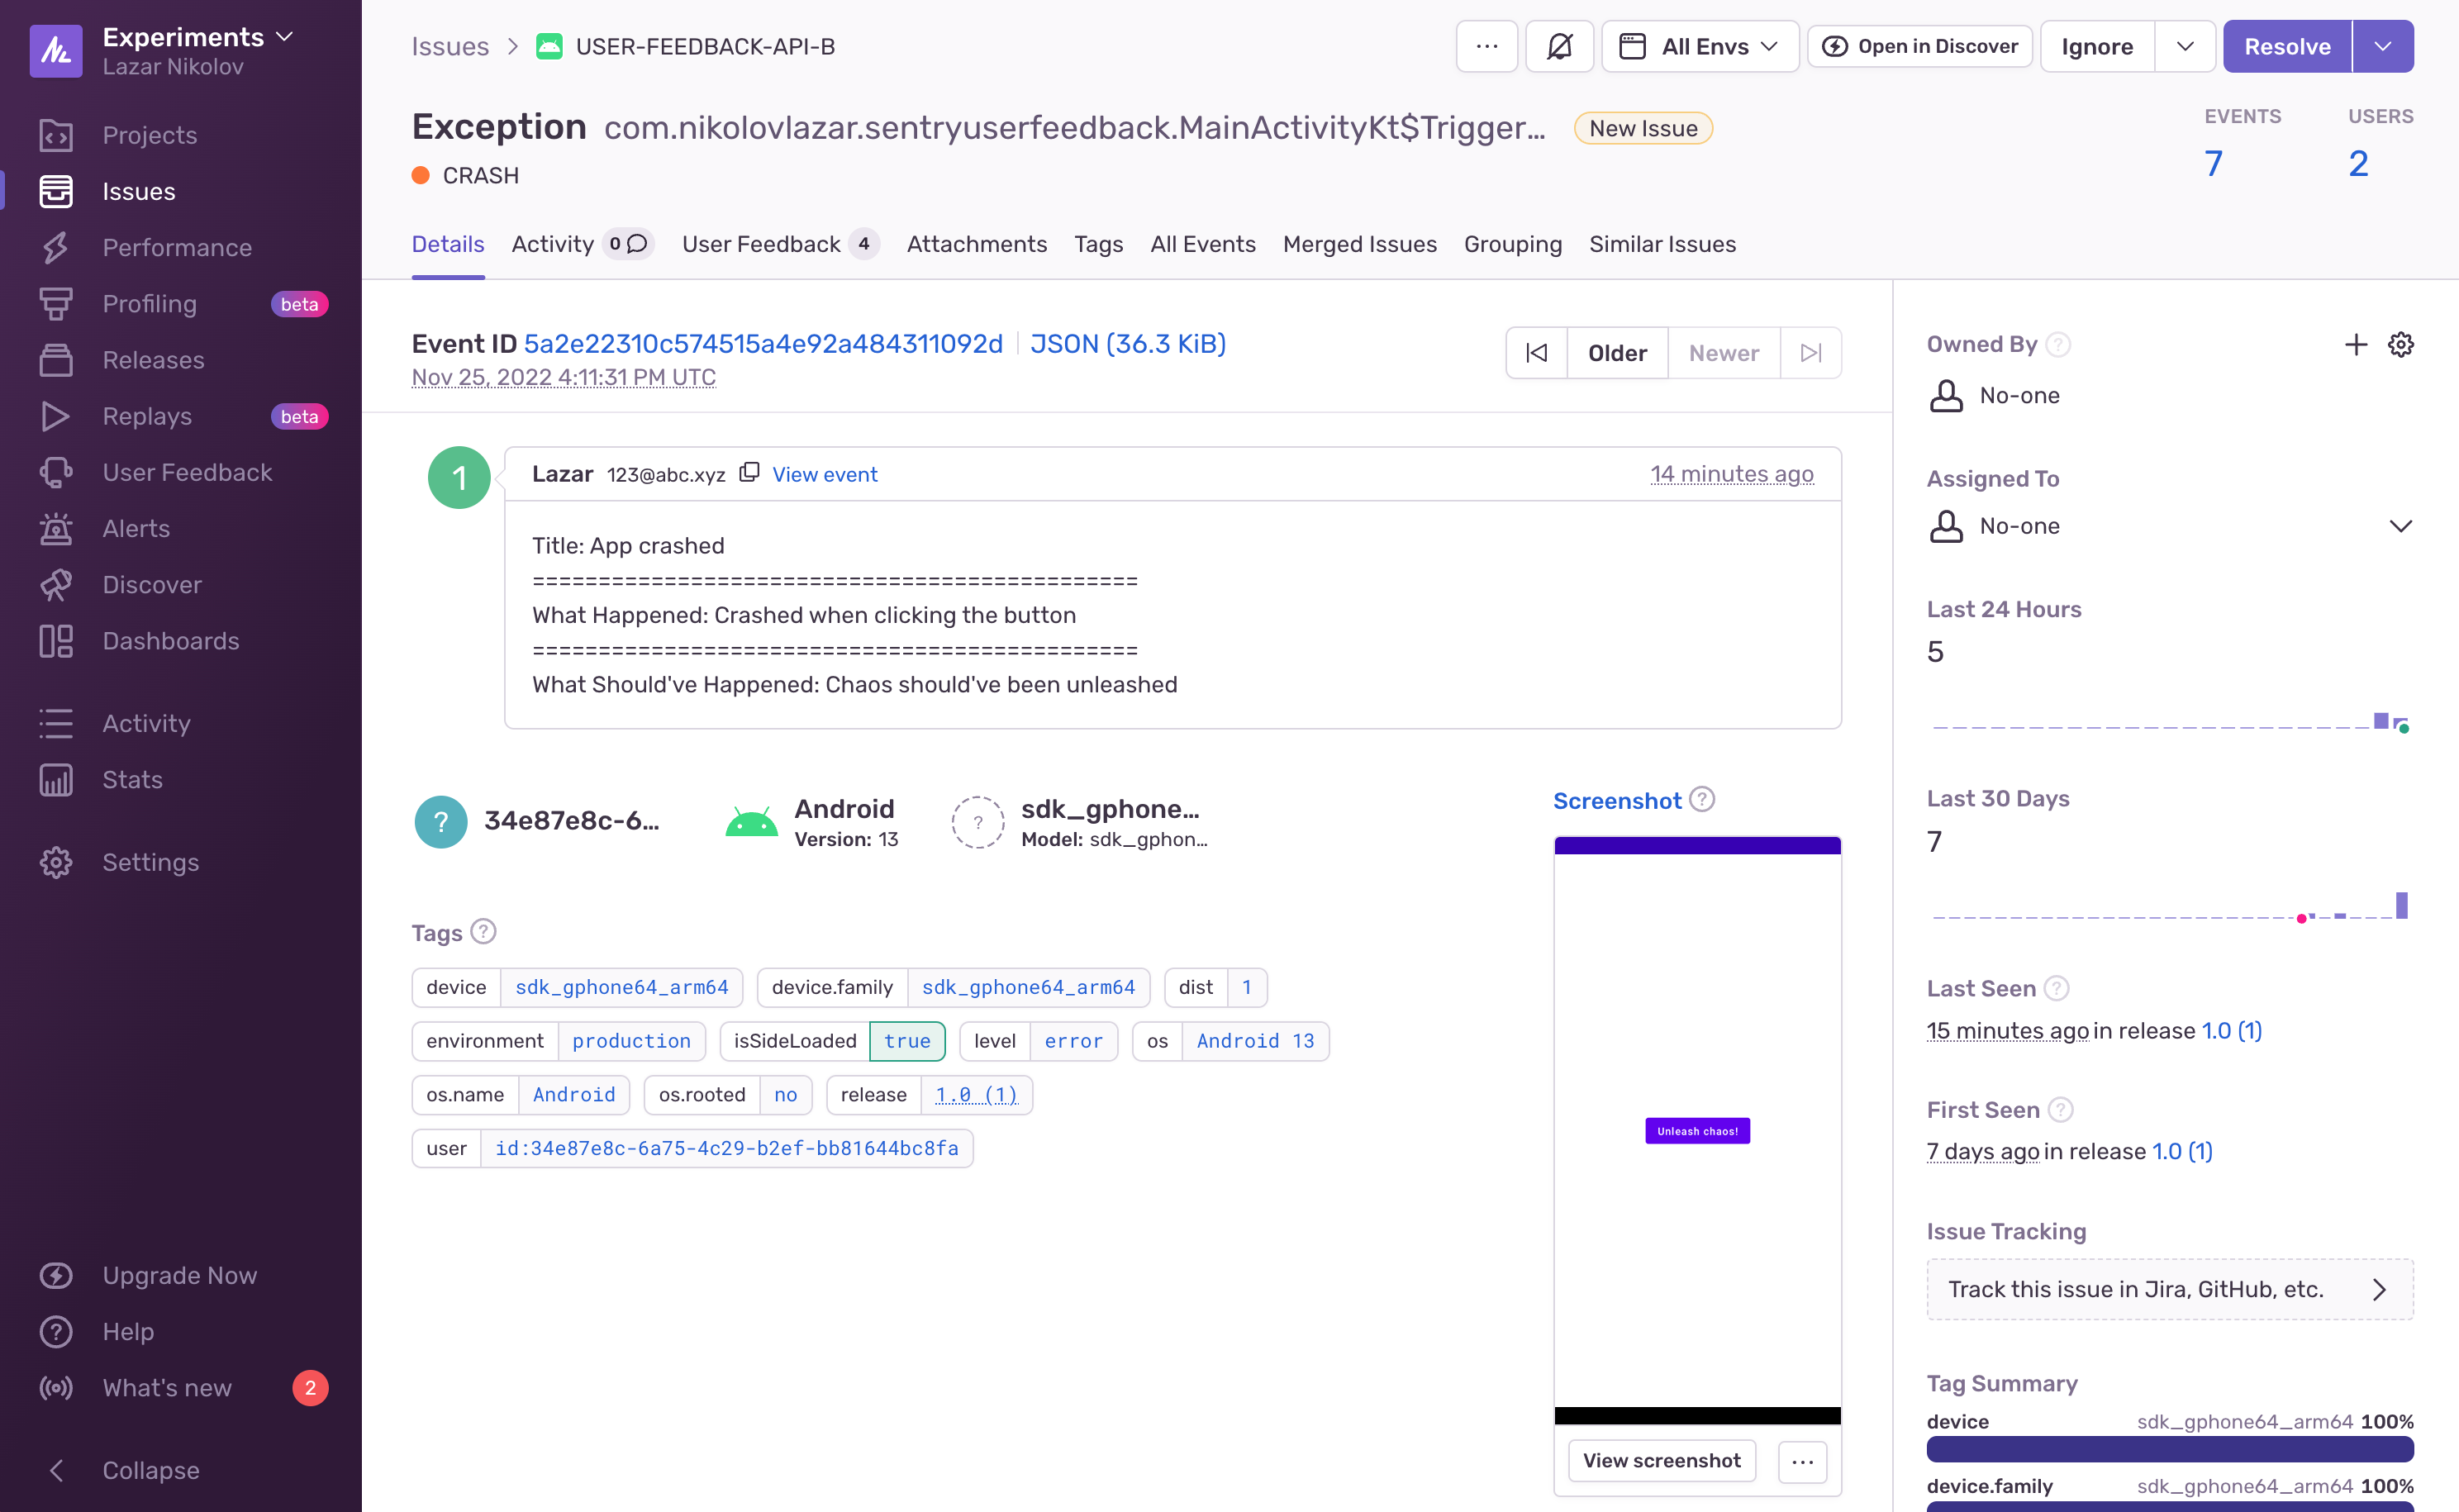
There’s also a “User Feedback” tab at the top that lists all submitted feedbacks for that exception. Each user will most likely provide a different level of detail in their feedback, so having all of the feedbacks in one place helps you get a clearer picture of how the error happened.
You might’ve also noticed the Screenshot there. Sentry automatically snaps a screenshot when an error happens, if we provide the attach-screenshot value in the AndroidManifest file, so we can see what the users saw at the time the crash happened. How cool is that?!
Conclusion
So there you go! By using Sentry’s User Feedback feature, you can give your users an opportunity to provide more feedback when a crash happens. Since every feedback is linked to a certain exception, Sentry groups the feedbacks that belong to the same exception so you can get a clearer picture of how the exception happened. Couple that with the Screenshots feature, and you get so much info as if you’re right there with the user when it happened.


