The Sentry Workflow — Alert
The Sentry Workflow — Alert
We get it — errors suck. And you don’t want to spend too much of your time fixing them, dealing with them, investigating them, etc. In our Workflow blog post series, we’ll help you optimize your, well, workflow from crash to resolution.
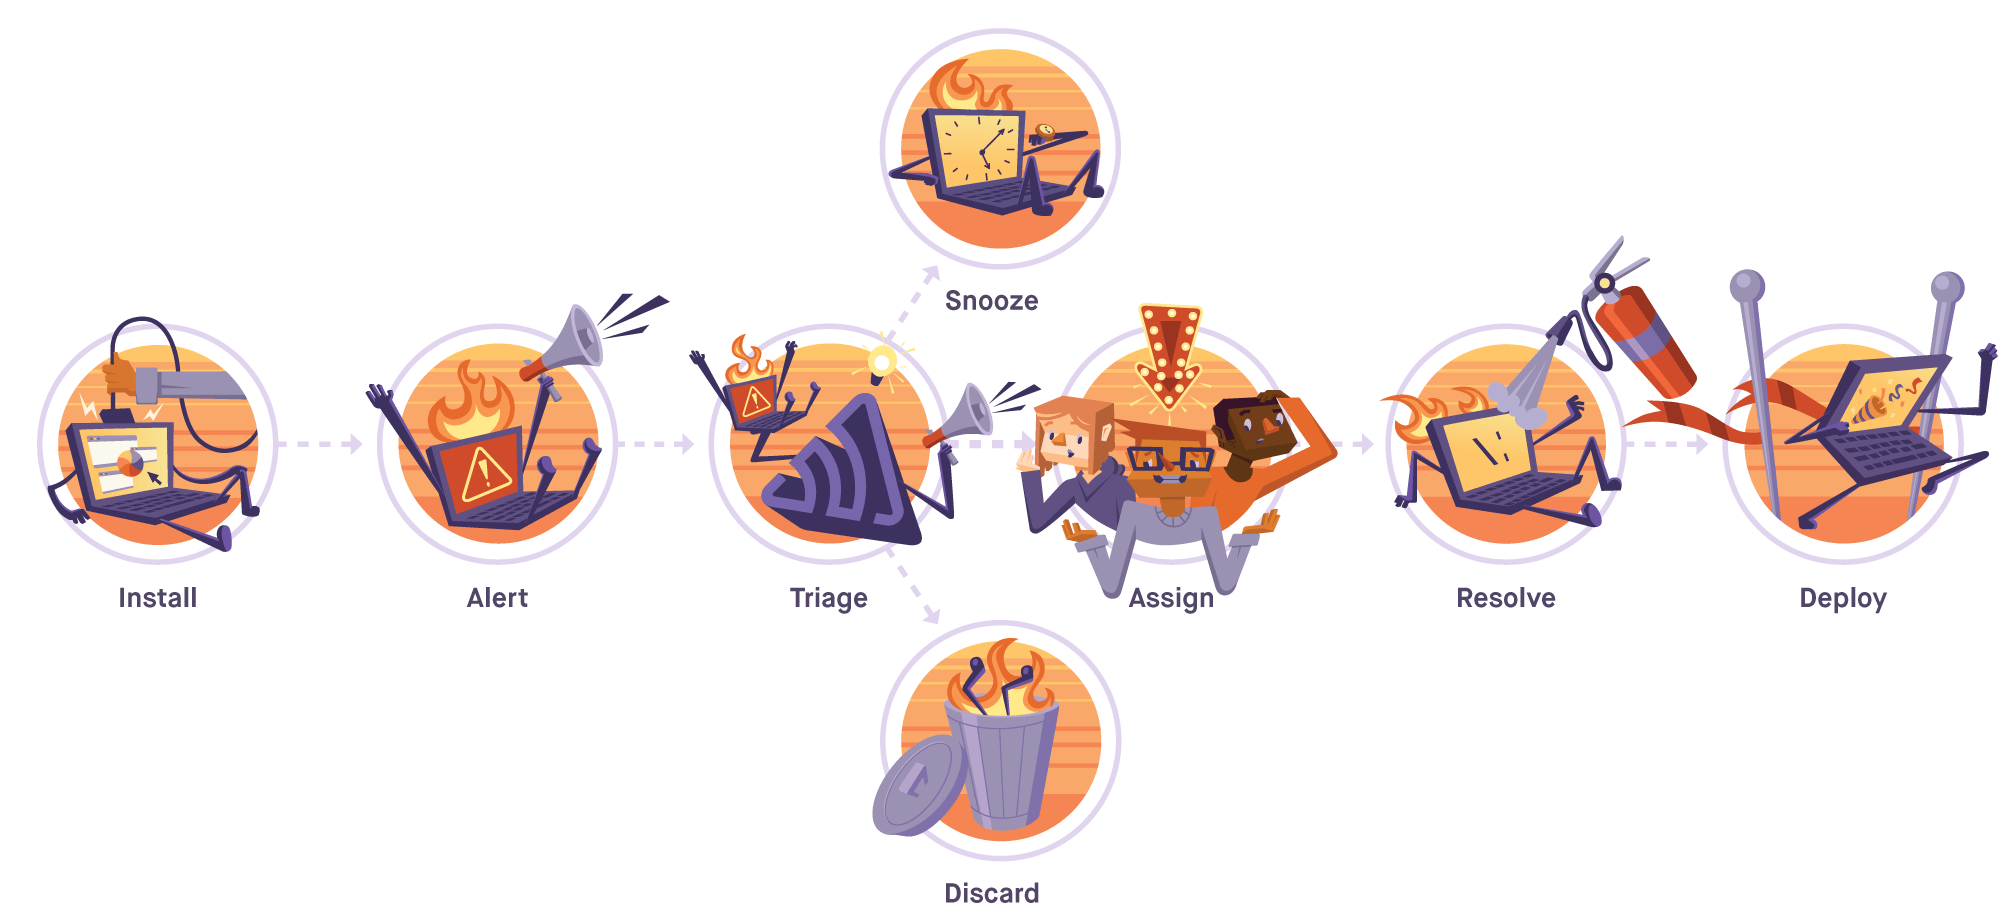
Sentry is more than just error tracking. Sentry helps you maintain the quality of your code and work more efficiently with your team to improve the user’s experience. Merging Sentry into your existing workflow — specifically the alert, triage, and resolution phases — provides the insight to work at your highest efficiency and gain accountability throughout your application lifecycle.

In this post, we're focused on the alert phase, with an emphasis on custom alerts. Next time, we'll talk about the triage phase. And, as you can probably guess, the resolution phase will resolve (heh) the series.
Alerts
Sentry’s notifications give immediate visibility into the impact of errors on your users and why you are being alerted. Alerts explain why you’re being notified and uncover the error type. Instead of reacting to a series of problems run rampant, each developer on your team can proactively decide the appropriate next step, nesting iteration directly within the existing development workflow.
Sentry has SDKs that support most languages — virtually all of them, to be precise — and you’ll want to set that up first. Getting started with Sentry is a three-step process:
Now that the SDK is installed and configured:
Use issue graphs to understand the frequency, scope, and impact of errors and prioritize what needs to be fixed.
Fix multiple instances at once and streamline the process of receiving notifications by grouping related errors by the stack trace.
Drill into the issue to see all the details about the error, including owners, environments, and tag heat maps.
Organizations that configure at least one alert rule are four times more likely to successfully triage that issue and 13 times more likely to resolve an issue.
Custom alerts
Sentry automatically sets up a default alert rule that notifies you any time an error is first encountered. The first time a new issue is generated by an error, we’ll notify you of it via whatever services you have connected to Sentry.
The default alert is great, sure, but you can also customize alerts according to your organization’s specific workflow, stack, communication style, and objectives. Actually, organizations that configure at least one alert rule are four times more likely to successfully triage that issue and 13 times more likely to resolve an issue.
By tailoring alert rules and integrating into the tools you already use, you can receive alerts when (and if) you want them, without disruption.
Alerts are configured per project and are based on the rules defined for that project. To modify the rules visit your Project Settings > Alerts > Rules tab. On this page, you’ll see a list of all active rules, including conditions and actions, which you can modify.
My favorite part of Sentry is collecting related errors into a single item. Seeing only my 30 issues out of thousands makes resolution easy. With Sentry, I can fix a million problems all at once.
Conditions
Rules provide several configurable conditions. These are fairly self-explanatory and range from simple state changes to more complex filters on attributes.
Once you configure custom tags, you can also customize alerts to receive a notification every time an important customer runs into an issue.
Or every time those customers experience an issue specifically on your checkout page.
You can also get notifications any time your website sees a spike of errors within a certain duration.
Additional conditions exist for things like issue state changes and event attributes, which allow you to mark issues as ‘resolved,’ ‘unresolved,’ or ‘ignored’ to keep you organized.
Actions
If you do decide to take action on addressing a certain issue, you can send notifications to three types of places:
While you’re at it, keep yourself organized by integrating with Slack to receive error alerts directly in your team’s Slack channel.
Or get paged in real-time with our PagerDuty integration.
Contextual alerts can lead to increased accountability for the customer’s experience. Visibility into previously hidden issues means a more timely remediation process in your existing workflow and a much higher signal-to-noise ratio (plus happier developers).
For more details and best practices, check out our alert rules and conditions documentation, our blog post on proactive alert rules, and our very thorough workflow whitepaper.


